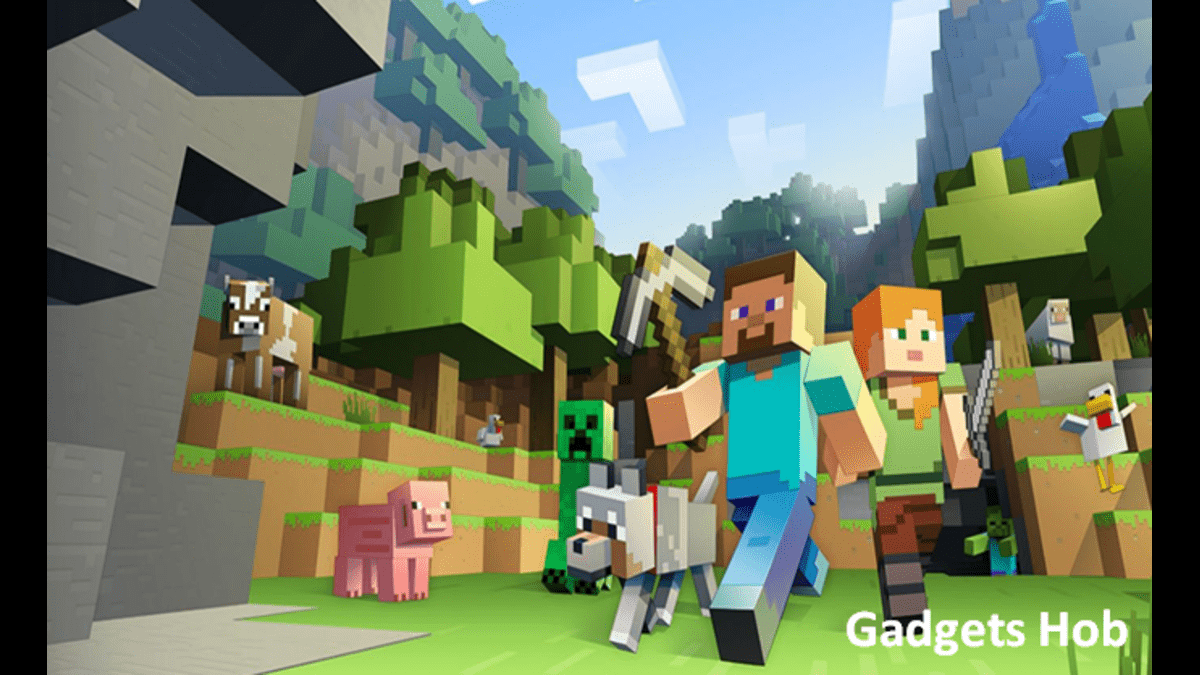
If you’re tired of playing the ordinary version of Minecraft, find out how to download mods to add some flavor to your gameplay. Customized Minecraft mods are great because you can change everything to suit your preferences and make it entirely unique.
It is recommended that you check through the Minecraft beginner’s guide if you are new to the game. However, if you are already an expert and are aware of what Minecraft mods are, then let’s move on to the prerequisites for setting them up.
Requirements to Install Mods in Minecraft
As soon as possible, make sure you have a Java Edition Minecraft server and download the Java Development Kit. However, before installing mods or getting Minecraft Forge, there are a few more things to consider:
1– The Java Edition is used by the majority of Minecraft servers. Regretfully, the Bedrock Edition can only be played with add-ons purchased through the Minecraft Marketplace; it cannot be modified.
2– Each mod will dramatically increase RAM usage, thus your system must be powerful enough to support it.
3-Make sure you have a backup of all your server files before downloading any Minecraft mods. You will have the option to start over in the event that things don’t work out as planned.
4– Before you install any new mods, stop the game. While the game is running, you can use Minecraft mods, but the best effects won’t appear until you restart it.
5– Consider installing the mods independently. Time will be saved, and their successful application will be guaranteed.
How to Manually Download Mods for Minecraft
We can now look forward to the process of getting Minecraft mods since the Java Development Kit is available and Minecraft is up and running.
1- Install to use Minecraft Forge.
With mods, Minecraft Forge is the most well-known add-on. It enables users to manage and download custom Minecraft mods on the Java Edition of the game. The procedures to get Minecraft Forge are as follows. Keep in mind that this is the download procedure for the Windows version of the Minecraft server; users of Linux and Mac OS will experience the identical download procedure.
. Download and install the most recent version of Minecraft Forge from the official website.
. After the countdown, touch the Skip button in the new pop-up window that displays.
. After downloading the installer, launch Minecraft Forge. After selecting Install Client, hit OK.

. The user can connect to the Minecraft Forge server using the client version. If an error message appears, just make sure the default Minecraft launcher is downloaded and operating correctly.
. Launch the installer once more, but this time choose the Install server option. Mention the chosen unflavored Minecraft game directory as well. Any warning notice should be ignored; there is no need to be concerned. Proceed with the downloading process.

. To launch the run.bat program, choose the new Folder double. The Minecraft game will then launch next to Minecraft Forge.
2- Install the Mods That You Want
We’ll explain how to get Minecraft mods in this phase. We advise you to look through the many options available for Minecraft Mods. We will install the Just Enough Items mod in this phase, which is the ideal mod for your game. Check out the mod page’s indication of the Minecraft version by opening the website. If the versions of your game and the device match, click Download.
Keep in mind that certain mod files come in.zip archives, therefore be careful to extract them before installing
3- Moving a Modified File to the Mods Folder
Now let’s get some incredible modifications for Minecraft! All of the installation procedures should be the same regardless of the operating system you are using:
. Click the mods folder in Minecraft.
. Make a folder and name it mods if you can’t locate one.
. The installed mod should be copied and pasted into the newly formed mods folder. This also applies to the mods folder located in the installation path of the Minecraft server.
How To Find The Windows Mods Folder
The minecraft folder contains the folder containing your Minecraft mods. This is the entire route: .minecraft in Users/{Windows-Name}/Appdata/Roaming.

Alternatively, you can press Control + R, type %appdata%, then press Enter. Locate the.minecraft folder, choose the modifications directory, and then copy and paste your mod files there.
Where In Mac OS Is The Mods Folder?
The standard location for the Minecraft client on macOS is /Library/Application Support/Minecraft. Use the keyboard shortcut Command + Shift + G to locate it. This shortcut allows you to access the file manager in Finder. The next step is to navigate to Library → Application Support → Minecraf.
How To Find The Linux Mods Folder
To access the Minecraft client directory on a Linux-based PC, launch Terminal. Next, execute the following command:
xdg-open ~/minecraft
4- Check the Mod Installation’s Status
It’s important to verify the mods’ current state after installation. To accomplish this, launch Minecraft Forge and then adhere to these instructions:
1- Launch the Minecraft launcher, select Forge from the bottom menu in the left corner, and press Play.

2- Click the Mods button from the main menu of Minecraft.

3- All of the downloadable Minecraft mods are visible here.

4- Choose Multiplayer and enter your server address to check if the mods are working on your server. The game is available for both client and server play, and our server address is localhost.

5- You can see that the JEI mod is activated and operating properly once you’re connected.
Mod Launchers: A Way to Download Mods for Minecraft
Players can download modpacks with just a few clicks thanks to mod launchers. They have a huge selection of specially made mods that have been chosen by the Minecraft community. This allows players to automatically download the modded version of Minecraft without having to download it first. There are several launchers available; choose the best one by doing some research.
Conclusion
You won’t be the same as the old vanilla Minecraft game now that you know how to download mods. To add some spice, download the mods.


